Henrik Dahlberg

Moveable Camera and GLFW

I’ve made lots of progress this week. I decided to switch out the GLUT library functionality for GLFW to prepare for a full move to modern OpenGL. Right now I’m using some deprecated OpenGL functions to draw my image to the window which is not ideal, but it works for now. I read a great series of tutorials on modern OpenGL at Learn OpenGL and I implemented a modified version of the described camera system into the HCamera class. At the moment all the controls are set up in the main.cpp file and passed to the camera, but in the future I would like to use a proper controller class but for now I will focus on further developing the rendering.

The camera set up to move in its local coordinate system by pressing the WASD keys, as well as moving up and down in the world coordinate system by pressing the space and left ctrl buttons respectively. The camera can also be rotated by pressing and holding down the right mouse button like in many CAD programs. The camera speed can be increased or decreased by scrolling the mouse wheel up or down and I plan to add more controls for things like aperture radius and focal distance soon.

Below a YouTube video showcasing the camera movement. It’s obvious that the application is not ready for real-time usage due to the noise, but it’s nice to be able to move around the scene to find a good angle for a rendering.

Moveable Camera Showcase

Randomized Sphere Scene

When no actual productive work is being done it’s easy to add unnecessary features. I made a sphere scene randomizer that generates a number of spheres and assigns diffuse color and emission values.

Also, below is a rendering of a low poly stanford bunny from the current mesh loading implementation. It’s not pretty at the moment and I hope to build a better framework for that soon. Sorting out the geometry and camera transformations is of higher priority at the moment, as well as adding specular and transmissive materials.

Stream Compaction

The current rendering implementation works as follows. Each time the display function of OpenGL is called, the renderer calls its Render function. This launches a series of kernels on the GPU. First, we initialize the quantities we need. We keep track of the number of pixels whose rays have not yet been terminated, and an array of indices corresponding to the live pixels is kept in order to know which rays correspond to each pixel. We then shoot rays from the camera and in an iterative manner trace them in parallel through the scene as they bounce. When an array is terminated, ie. it either misses the scene components or it’s potential color contribution falls below a certain threshold, the ray index for that pixel is set to -1. This way, in each bounce iteration we can compact away and remove the rays that have terminated in the last iteration. This is done by passing a predicate to a function of the thrust-library dictating wether the value is negative or not. Doing this comes with a slight overhead that can cause a reduction in rendering efficiency for scenes where most rays are alive for a long time (closed scenes). In open scenes however, many rays terminate early and we can then increase the occupancy on the GPU by reducing the amount of idle threads in each warp. Instead of waiting until all rays have terminated, we assign threads only to the rays that are still alive, reducing the total amount of CUDA thread blocks needed. Below is an image showing how the live rays are reduced after each iteration and how the number of blocks is reduced as well.

I have begun implementing triangle mesh loading, but for now it’s rather messy. I have changed all the math classes from the CUDA native classes such as float3 and uint2 to the corresponding functions from the glm library in order to get quicker access to some matrix classes. It seems like the native CUDA types are slightly faster so in the future I will ideally write my own matrix class for geometry and camera transformation.

First Path Tracing Implementation

Now that we can average colors over frames, sample well-distributed random numbers and cast rays from the camera we can set up a simple scene to test an initial path tracing implementation. Before I manage implementing a more general triangle mesh loading and bounding volume hierarchy, I implemented a HSphere class with a position and radius and a HScene class that holds information about the current scene setup, which for now is nothing more than an array of spheres. The HSphere also has a HMaterial with Diffuse color and Emission values.

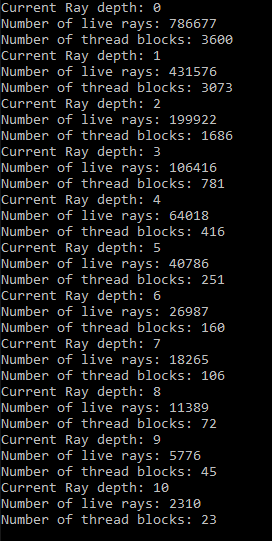
At each iteration in the renderer, rays are initiated from the camera in one CUDA kernel and are then traced as they bounce through the scene in an iterative way until they either terminate or reach a maximum ray bounce depth. For each ray depth, we trace the rays in another CUDA kernel which performs ray-sphere intersection tests with the scene and accumulates color. The rays are then given a new origin at the intersection point and a new direction sampled from a cosine weighted distribution in the hemisphere, so that each ray can be traced further from the intersection point. When the maximum ray depth is reached, we pass the accumulated colors for this iteration to the accumulation buffer which is then displayed.

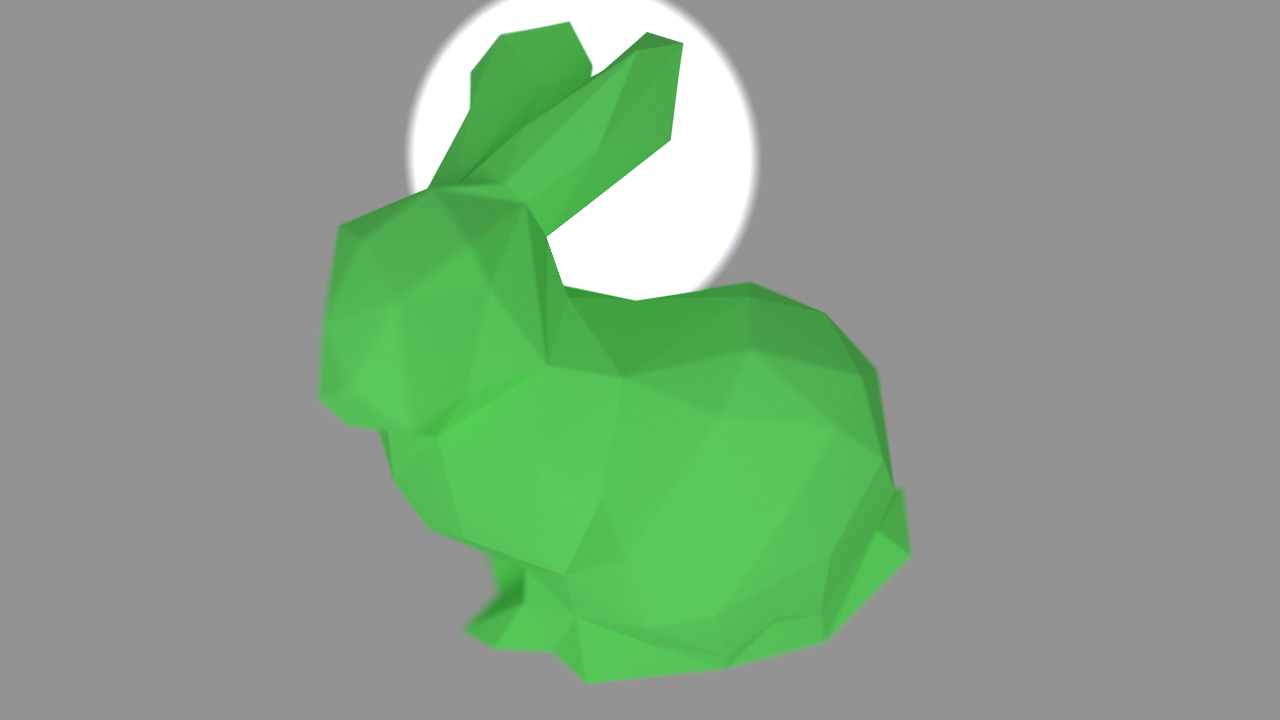
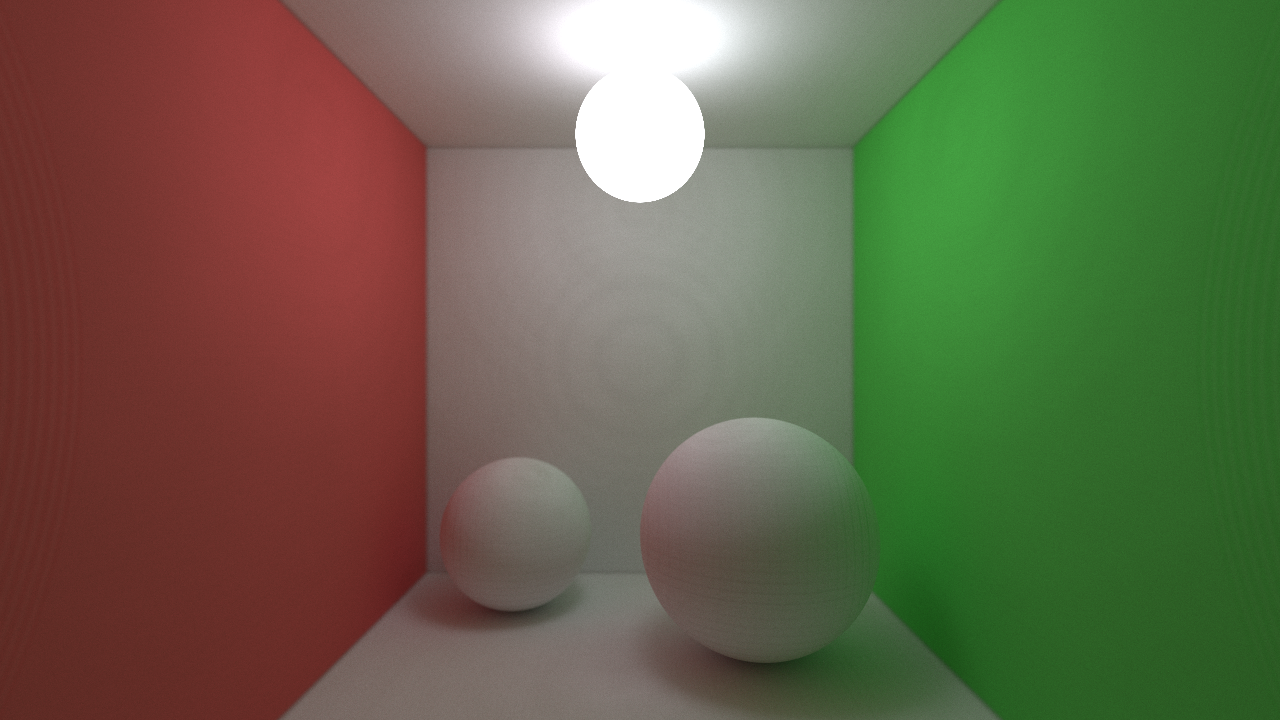
The first implementation I did was not performing the hemisphere sampling correctly which led to incorrect lighting artefacts as can be seen in the pictures below.

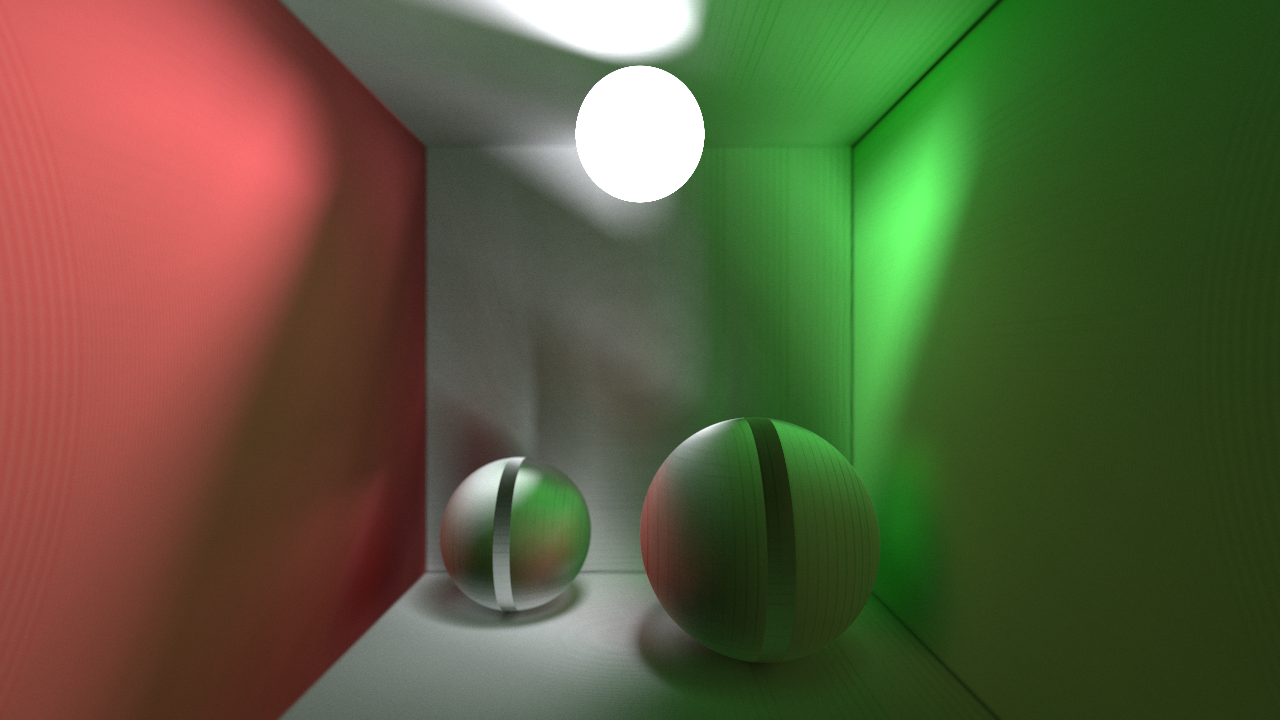
After having corrected this, there were still some ring artefacts present arising from the fact that I was not offsetting the new ray locations after each bounce from the surface far enough, causing self-intersection. This should be handled properly in the future, either by passing the index of the object the ray is bouncing from in order to ignore it, or by some more thorough floating point error analysis.

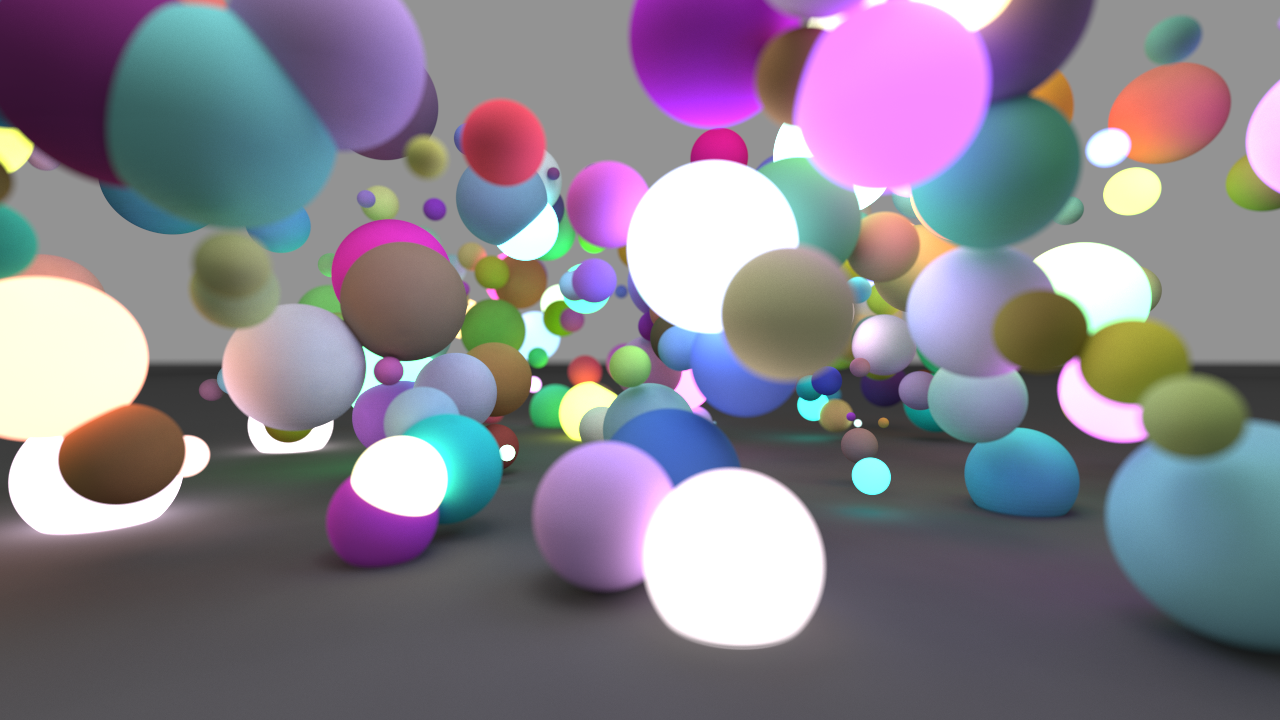
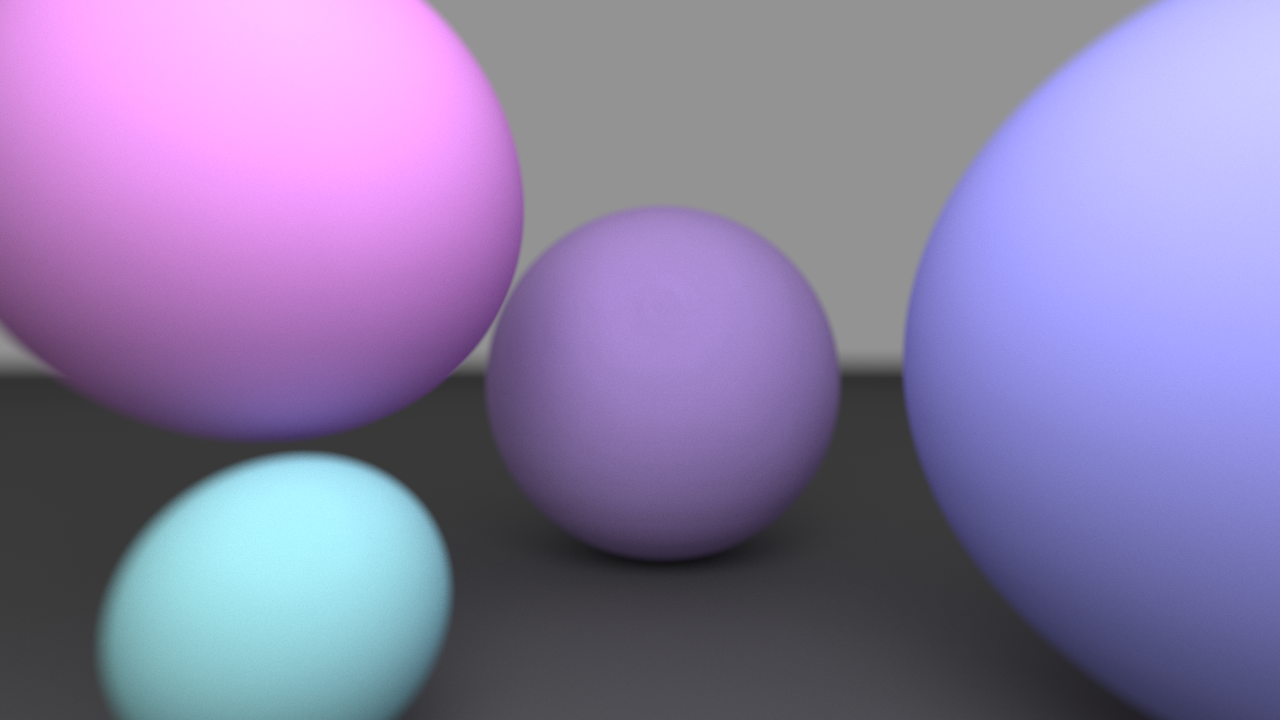
After having adjusted the offset slightly, I can now render scenes containing diffuse spheres. Below is an example showing the depth of field effect, resulting from the aperture sampling in the ray initialization kernel.

The next post will be about using stream compaction to remove threads responsible for terminated rays, allowing us to increase the occupancy and minimize the amount of threads that will be waiting for other threads in the same warp to finish executing.

The stream compaction feature along with a lot of other implementation details in this project was inspired by a similar project conducted by Peter Kutz and Karl Li back in 2012. Their work has been very inspirational and has motivated me to build my own rendering system to learn more about programming and light simulation. Their project is available on GitHub here. Another person who has been very helpful so far in the project is Sam Lapere, who has very kindly been answering all of my e-mails and explaining some intricacies of the implementations in the tutorials on his blog.

Ray Casting from the Camera

Having tested the accumulation buffer and random number generation on the GPU, the next step is to cast rays from the camera origin into the scene through each pixel.

The camera is described my the HCamera class which holds data such as resolution, position, view direction, aperture radius etc. in a HCameraData struct. This data is passed to the renderer which allocates memory and copies the data for use on the GPU. The renderer also allocates memory on the GPU for an array of HRay objects that will be used to store the rays. The initial ray casting is done in the InitCameraRays kernel which assigns each ray to a pixel in parallel on the GPU and computes a direction from the camera origin through the pixel. Each ray direction is offset by a random jittering within the pixel, and each ray origin is offset from the camera origin within the aperture. This allows us to perform anti-aliasing essentially for free and adds a depth of field effect.

To verify that the ray casting from the camera is working as intended, the ray directions for each pixel is normalized to have each component in the [0.0f, 1.0f] range and is then drawn as a color to the OpenGL buffer, generating the image below:

Having this step completed now allows us to set up a scene of spheres and implement a sphere intersection routine to get a basic path tracing test scenario up and running. I have already done this with some errors still present which I will post about shortly.

Accumulation Buffer and RNG

I have just made some progress on the project and uploaded the latest to GitHub. The OpenGL and CUDA interoperability is now fully set up and the HRenderer class can render an image with the help of CUDA for OpenGL to display. A GL buffer is mapped to CUDA which is then manipulated in the HRenderer::Render() function call which launches a CUDA kernel. The kernel generates an image pass, gamma corrects and converts the colors to a type that OpenGL can display.

For now, the purpose was to demonstrate the accumulation buffer that will be used to update the display after each frame in order to give an interactive viewport. The kernel generates a random HDR color uniformly between (0.0f, 0.0f, 0.0f) and (1.0f, 1.0f, 1.0f) and stores it in the accumulation buffer. For each frame that passes, the buffer is then appended with a new color and the result is averaged over the number of passes. This way we can demonstrate how the color converges to the expected color value (0.5f, 0.5f, 0.5f). Below are three images after 1, 10 and 500 frames.

1 frame 10 frames 500 frames

This buffer will be needed in order for the Monte Carlo rendering simulation to converge to the desired image result, so the accumulation buffer step is crucial to an interactive path tracing engine.

Next I will work on Camera and Scene setup, probably using basic shapes such as spheres and boxes and get a basic render up and running before I work on the more advanced mesh loading and bounding volume hierarchy implementation.